
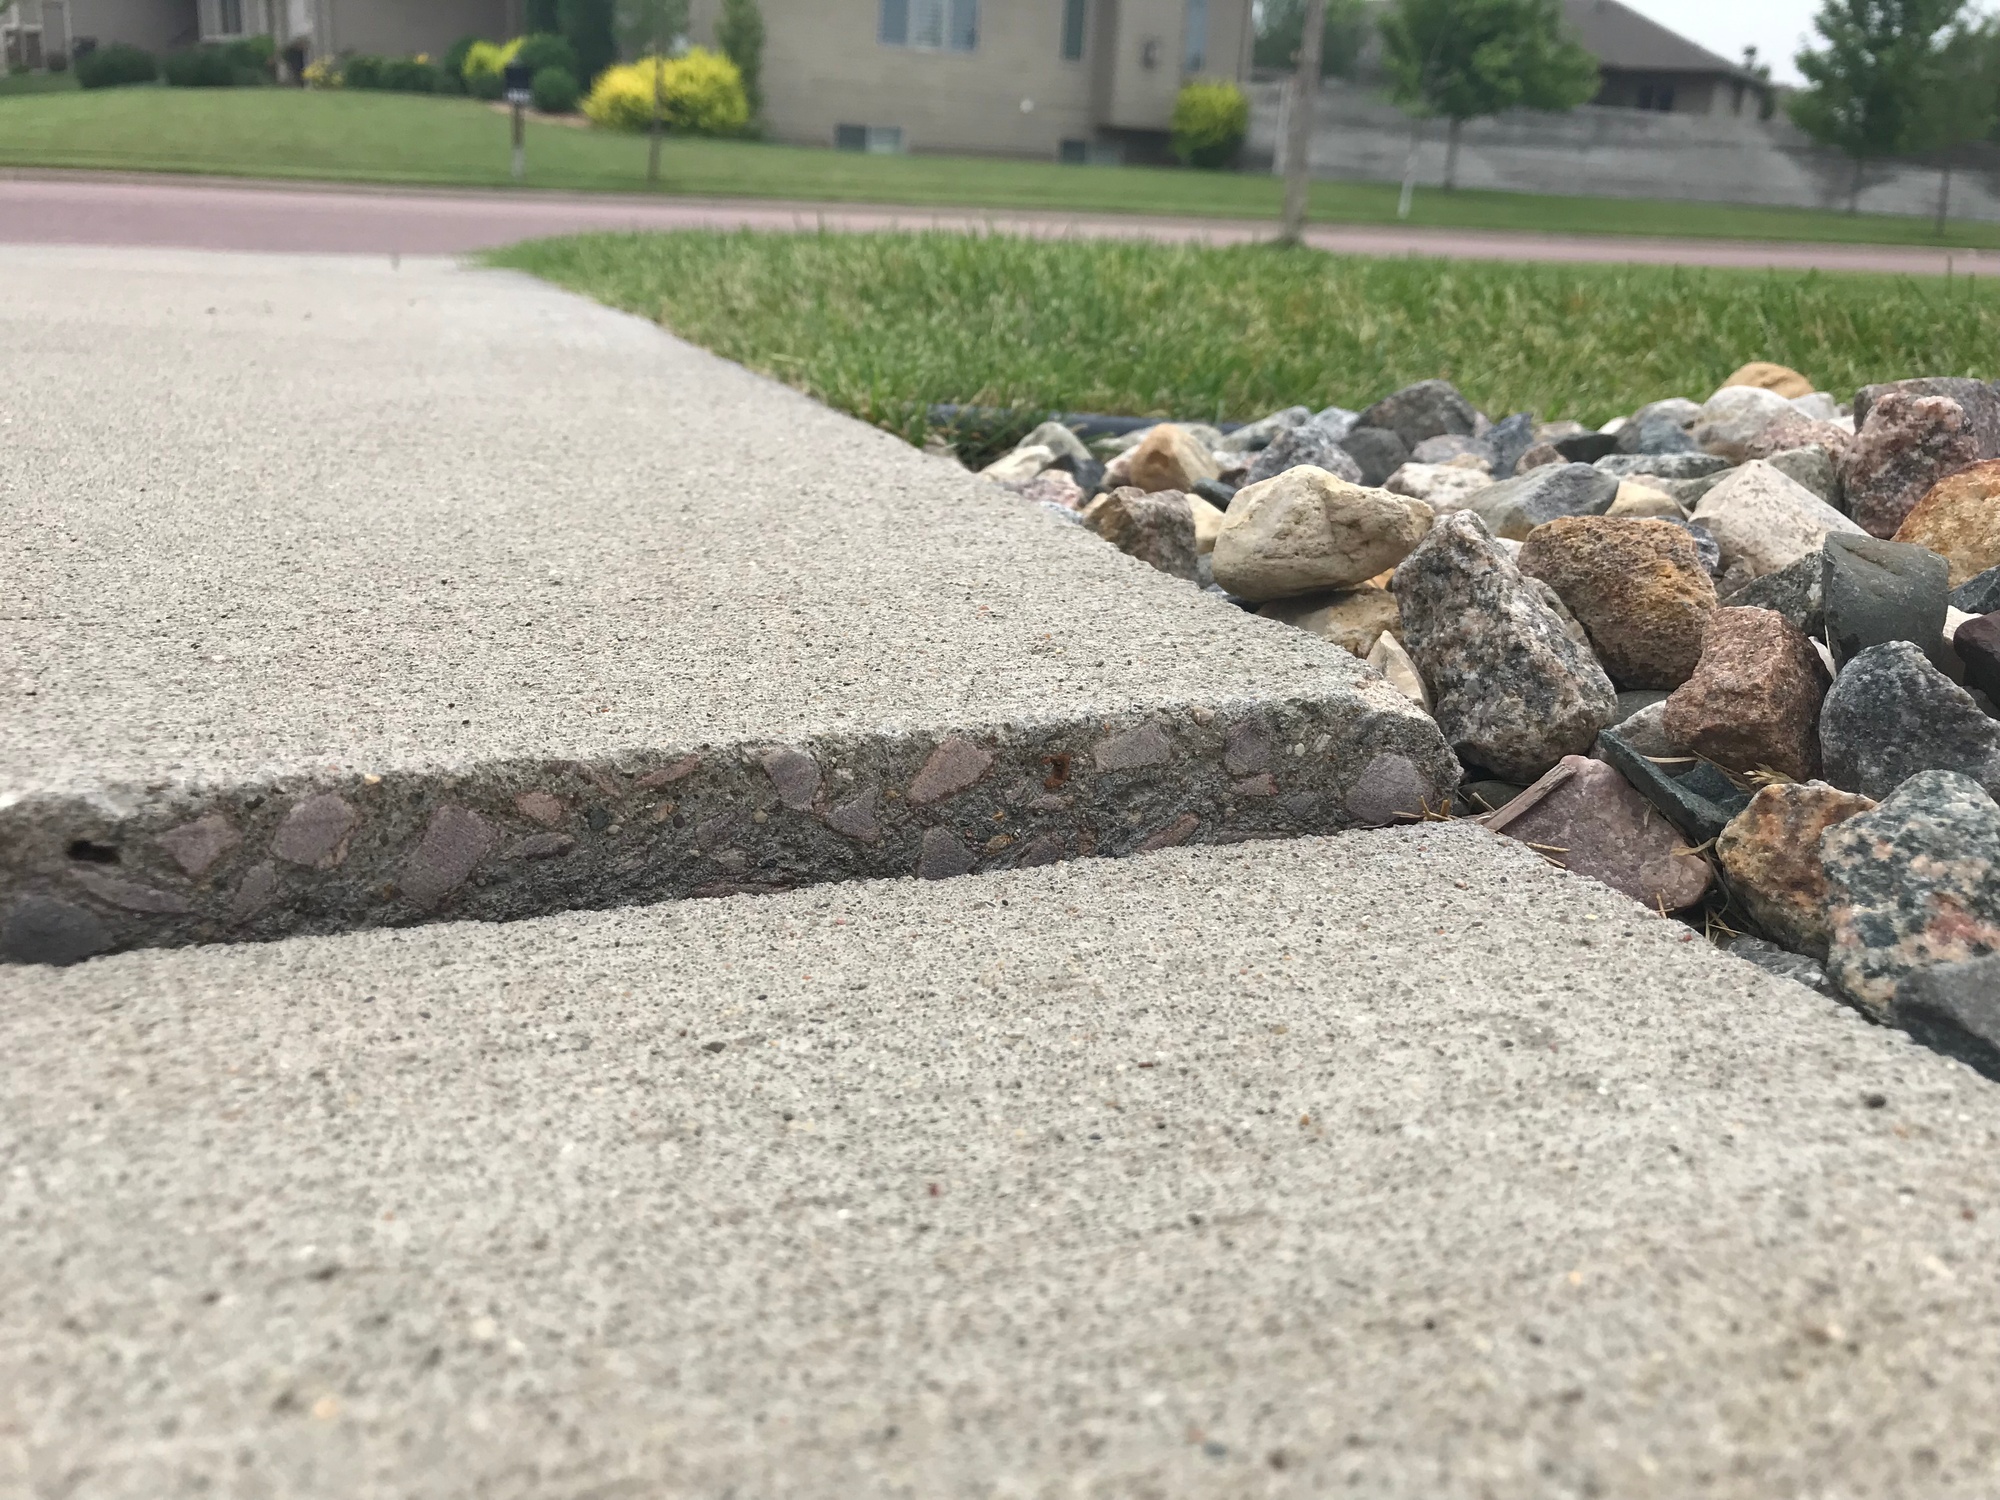
Uneven concrete is more than an eyesore—it’s a safety risk and a drain on your property value. Fortunately, concrete leveling offers a fast, cost-effective way to restore your slabs without the mess of full replacement. But before contractors arrive with their drills and pumps, you should prepare your property. A well-prepared worksite means fewer delays, better results, and less stress for you.
Why Preparation Matters
Concrete leveling isn’t as disruptive as tearing out slabs, but it’s still construction work. Hoses, trucks, and drills need space. Contractors must move quickly to inject slurry or polyurethane foam into the soil beneath your slab. If the site is cluttered, fragile, or unsafe, you risk delays and added costs.
Step 1: Clear the Work Zone
Remove cars, bicycles, grills, furniture, potted plants, and toys from driveways, patios, and sidewalks. Don’t forget hanging items like decorative lights or hoses that might block access. If the slab connects to your garage, make sure vehicles and stored items are out of the way well before work begins.
Step 2: Mark Utilities and Sprinklers
Most contractors contact 811 or a similar utility marking service before drilling. Still, it’s smart to note any private lines like sprinkler systems, landscape lighting, or French drains. Mark sprinkler heads with flags. If contractors don’t know they’re there, they may drill right through them.
Step 3: Create Equipment Access
Concrete lifting equipment includes pumps, hoses, and sometimes small skid-steer loaders. Crews need clear pathways from the street to the slab. Unlock gates, clear walkways, and ensure pets and children stay indoors. If work is happening in the backyard, open side gates or provide an alternate entry route.
Step 4: Protect Landscaping
Cover delicate plants or shrubs with tarps, especially if they’re near drilling sites. Dust and concrete debris are unavoidable. Move planters or decorative stones away from the slab. Consider trimming overhanging branches that might interfere with tall equipment.
Step 5: Plan for Noise and Vibration
Mudjacking and foam injection both involve drilling and pumping. Expect noise similar to a power drill and some vibration as slabs are lifted. Inform neighbors in advance if the project is large. Inside your home, remove fragile items from shelves in rooms connected to the slab being leveled.
Step 6: Confirm Drying and Curing Times
Concrete leveling usually allows light foot traffic almost immediately, but vehicle access depends on the method used. Polyurethane foam cures within 15–30 minutes, while mudjacking may require 24–48 hours. Ask your contractor in advance and plan your parking accordingly.
Step 7: Final Walkthrough and Aftercare
Once lifting is complete, the contractor fills drill holes and seals visible cracks. Walk through the site with them to confirm the slab is level and joints are sealed. Ask for recommendations on sealing the entire driveway or sidewalk to keep water out and extend the fix.
Preparing your home ensures a smooth, efficient project. A little effort upfront helps your newly leveled slab last longer and saves you from costly mishaps.